A paved driveway not only enhances your home’s curb appeal but also provides a durable and functional surface for parking and driving. If you’re considering installing an asphalt driveway, understanding the process and knowing what to expect can help ensure a smooth and successful project. In this blog post, we’ll outline the steps involved in paving a driveway and provide 11 simple steps to help with asphalt driveway installation.
For top-notch paving services in Elizabeth, New Jersey, Elizabeth Paving is the company to call. Our approachable staff is ready to respond to your inquiries promptly. Plus, enjoy a FREE quote when you contact us. Don’t delay—call today!
What to Expect: Steps Involved in Paving a Driveway
Installing a paved driveway involves several crucial steps, from initial planning to the final finishing touches. Here’s a comprehensive overview of what you can expect during the driveway paving process:
Planning and Design
- Assessment: Evaluate the area where you want to install the driveway. Consider factors such as drainage, slope, and proximity to existing structures.
- Design: Decide on the size, shape, and layout of your driveway. Consult with a professional to create a detailed plan that meets your needs and complies with local regulations.
Site Preparation
- Clearing: Remove any existing pavement, vegetation, or debris from the site. This may involve excavation and grading to create a stable base for the new driveway.
- Excavation: Dig out the area to the required depth, typically around 8-12 inches, depending on the thickness of the asphalt layer and the sub-base.
Sub-Base Installation
- Base Layer: Install a sub-base layer of crushed gravel or stone. This layer provides stability and drainage for the asphalt. Compact the sub-base thoroughly using a heavy-duty compactor.
- Edging and Forms
- Edging: Install edging materials, such as metal or timber, to define the boundaries of the driveway and prevent the asphalt from spreading beyond the desired area.
- Forms: Set up forms or barriers along the edges to hold the asphalt in place during the installation process.
Asphalt Installation
- Primer Layer: Apply a primer or tack coat to the sub-base to ensure proper adhesion of the asphalt.
- Asphalt Application: Spread a layer of hot asphalt mix over the prepared base. Use a paving machine to ensure an even and smooth surface. The thickness of the asphalt layer typically ranges from 2-3 inches.
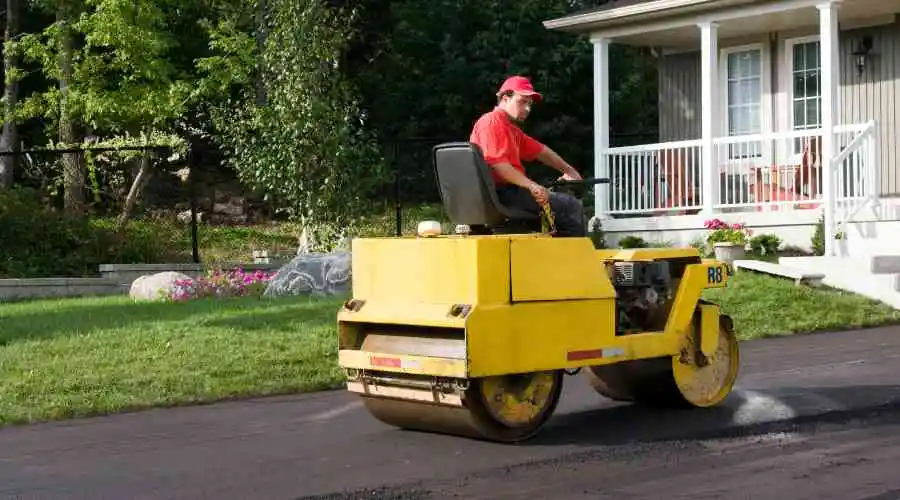
Compaction
- Rolling: Use a heavy-duty roller to compact the asphalt layer. Proper compaction is essential for durability and longevity. Make multiple passes with the roller to achieve a smooth and dense surface.
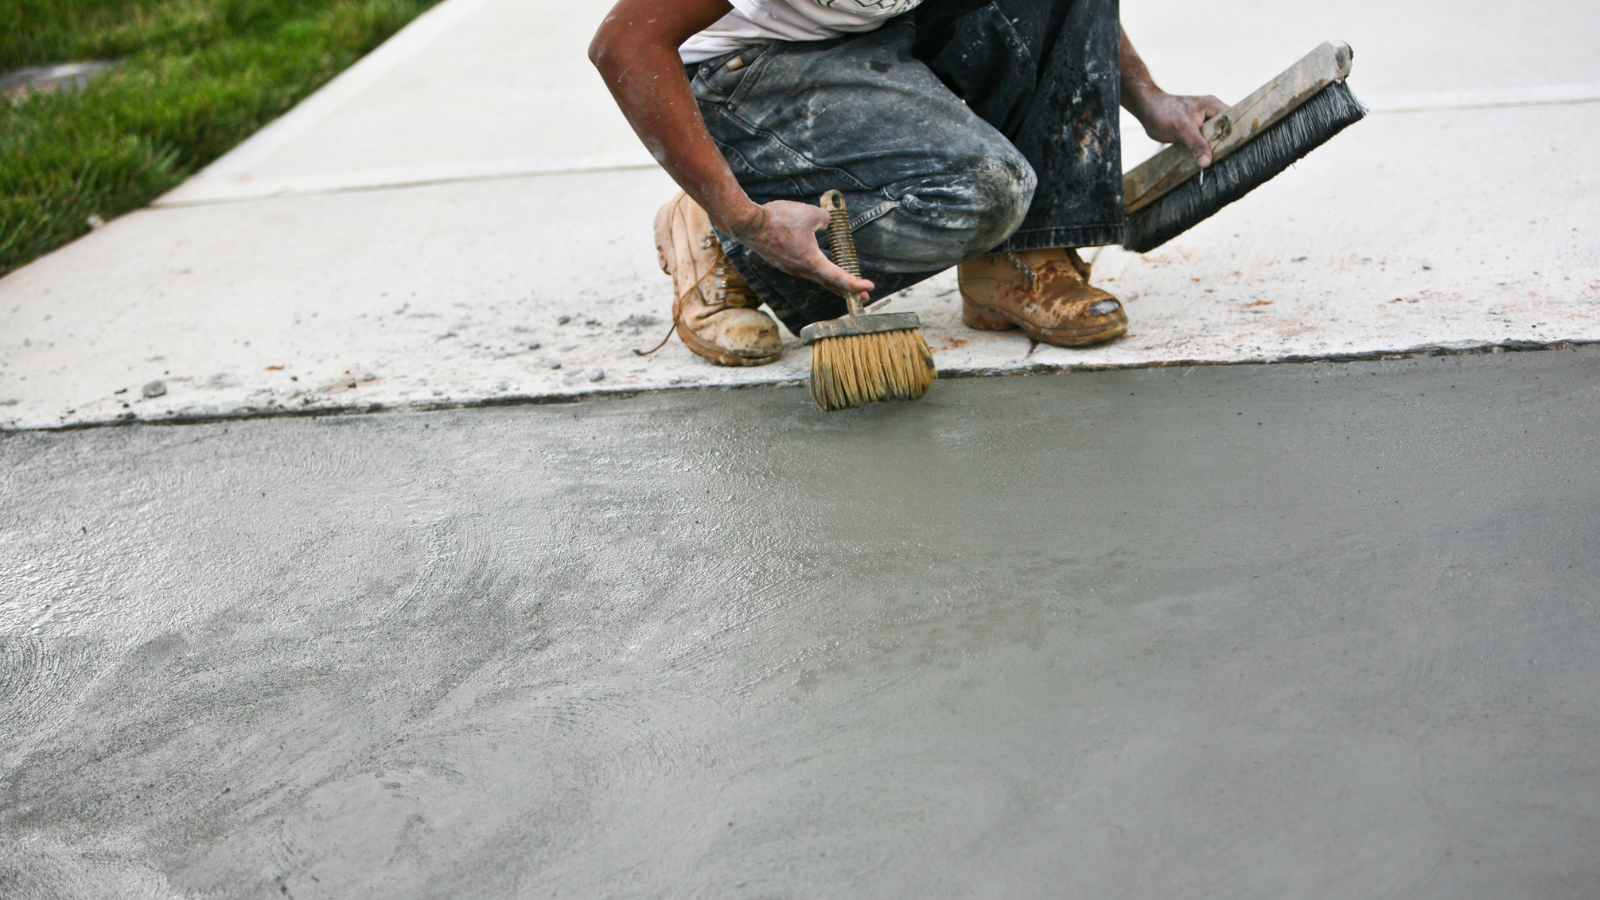
Edge Finishing
- Edge Treatment: Ensure that the edges of the driveway are well-defined and smooth. Use hand tools or a small roller to finish the edges and ensure a clean transition to the surrounding area.
Curing and Cooling
- Cooling Time: Allow the asphalt to cool and cure properly. This process usually takes 24-48 hours, during which the surface should remain undisturbed to avoid deformation.
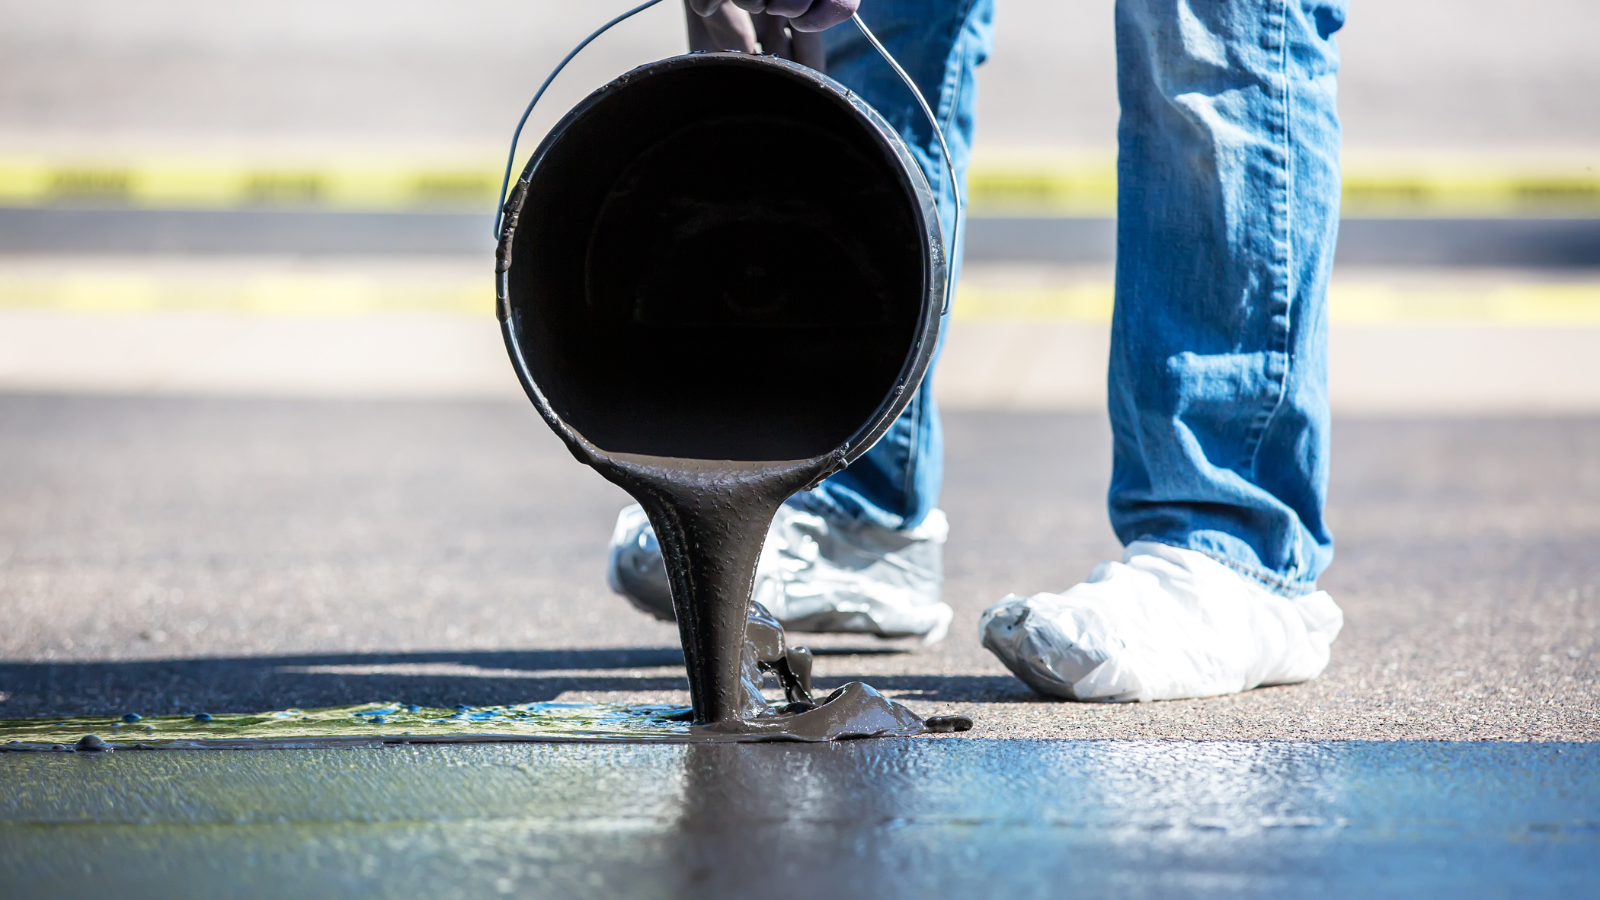
Sealing
- Sealcoat: Apply a sealant to the asphalt surface once it has fully cured. Sealcoating helps protect the driveway from moisture, UV rays, and traffic wear, extending its lifespan.
Final Inspection
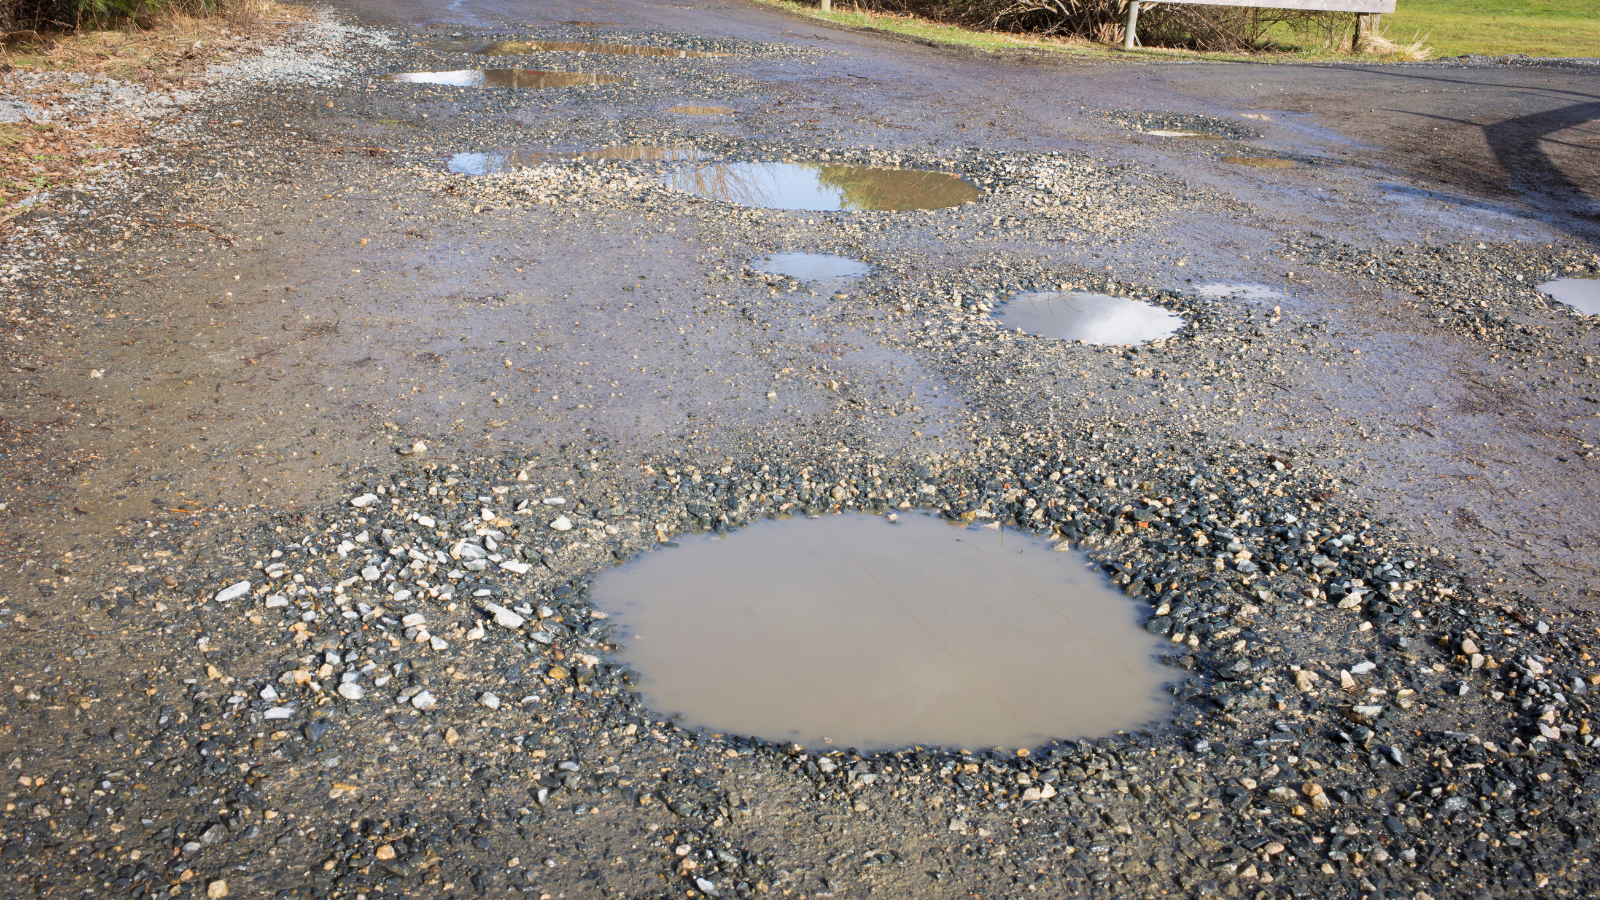
- Check Quality: Inspect the completed driveway for any imperfections or issues. Ensure that the surface is smooth, the edges are clean, and there are no low spots or drainage problems.
Maintenance
- Regular Care: Follow a maintenance schedule to keep your paved driveway in top condition. This includes periodic cleaning, sealing, and addressing any cracks or damage promptly.
11 Simple Steps To Help With Asphalt Driveway Installation
1. Plan and Design: Consult with professionals to create a detailed design and plan for your driveway.
2. Clear and Excavate: Remove existing materials and excavate the site to the required depth.
3. Install Sub-Base: Lay down and compact a sub-base layer of gravel or stone.
4. Set Edging: Install edging materials to define the driveway’s boundaries.
5. Apply Primer: Coat the sub-base with a primer for better asphalt adhesion.
6. Spread Asphalt: Use a paving machine to apply an even layer of hot asphalt.
7. Compact Surface: Roll the asphalt thoroughly to achieve a smooth and dense surface.
8. Finish Edges: Use hand tools or a small roller to smooth out the edges.
9. Allow to Cure: Let the asphalt cool and cure for 24-48 hours.
10. Sealcoat: Apply a sealant to protect and prolong the life of your driveway.
11. Inspect and Maintain: Regularly inspect and maintain your driveway to keep it in excellent condition.
Conclusion
Installing a paved driveway is a significant investment that can enhance your property’s value and functionality. By understanding the process and following these 11 simple steps, you can ensure a successful and durable installation. Whether you’re handling the project yourself or working with a professional, careful planning, and attention to detail are key to achieving a high-quality paved driveway that will serve you well for years to come. If you’re ready to transform your driveway, start with a solid plan and watch as your vision becomes a reality.