Paver blocks are favoured for pathways and patios due to their durability and visual appeal. However, like all outdoor surfaces, they can suffer from wear and tear over time. Cracks and damage can detract from both the beauty and functionality of your paved areas. Recognizing these problems’ underlying origins and how to address them is crucial for maintaining a pristine and safe outdoor space.
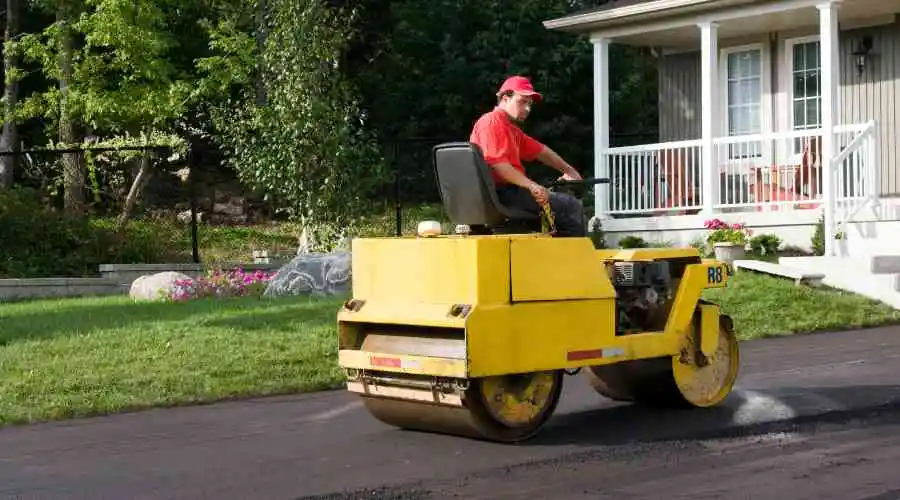
At Elizabeth Paving, we offer high-quality asphalt paving, repair, and maintenance for residential, commercial, municipal, and industrial clients.
Call us at (908) 458-9401 during business hours, and you’ll receive a response on the same day.
What Causes Paver Block Cracks or Damage?
Several factors can contribute to cracks and damage in paver blocks:
1. Weather Conditions: Extreme temperature fluctuations, such as freezing and thawing, can cause pavers to expand and contract, leading to cracks over time.
2. Heavy Loads: Excessive weight from vehicles or heavy equipment can stress pavers, causing them to crack or shift.
3. Poor Installation: Improper installation—such as inadequate base preparation, insufficient joint sand, or uneven leveling—can result in shifting and cracking.
4. Tree Roots: Nearby tree roots may grow beneath the pavers, pushing them out of alignment and causing damage.
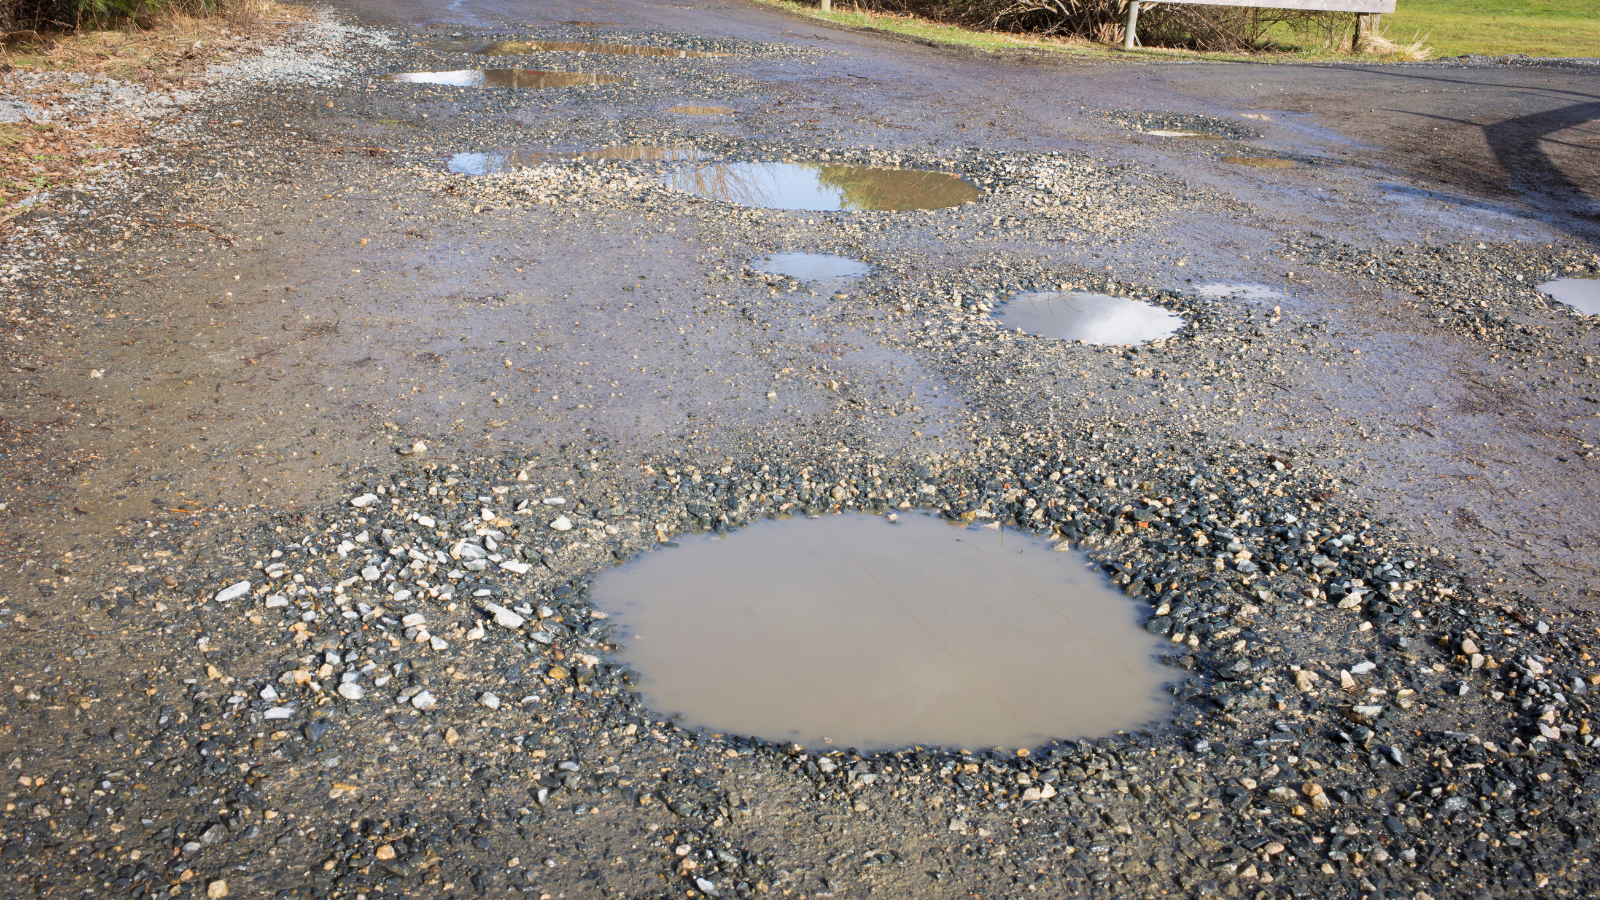
5. Erosion: Water erosion can wash away the sand and soil supporting the pavers, leading to instability and potential cracking.
6. Settlement: Ground movement or soil settling beneath They may move as a result of the pavers or become uneven, resulting in cracks and uneven surfaces.
Understanding these factors and addressing them promptly helps preserve the integrity and appearance of your paver blocks.
What Can I Use to Fill Cracks in Pavers?
Different materials can be used based on the severity and type of damage:
Polymeric Sand: Ideal for small cracks, polymeric sand hardens when moistened, creating a stable fill that helps prevent weed growth.
Paver Joint Sand: Suitable for minor cracks, this sand can be swept into gaps and compacted to stabilize the pavers.
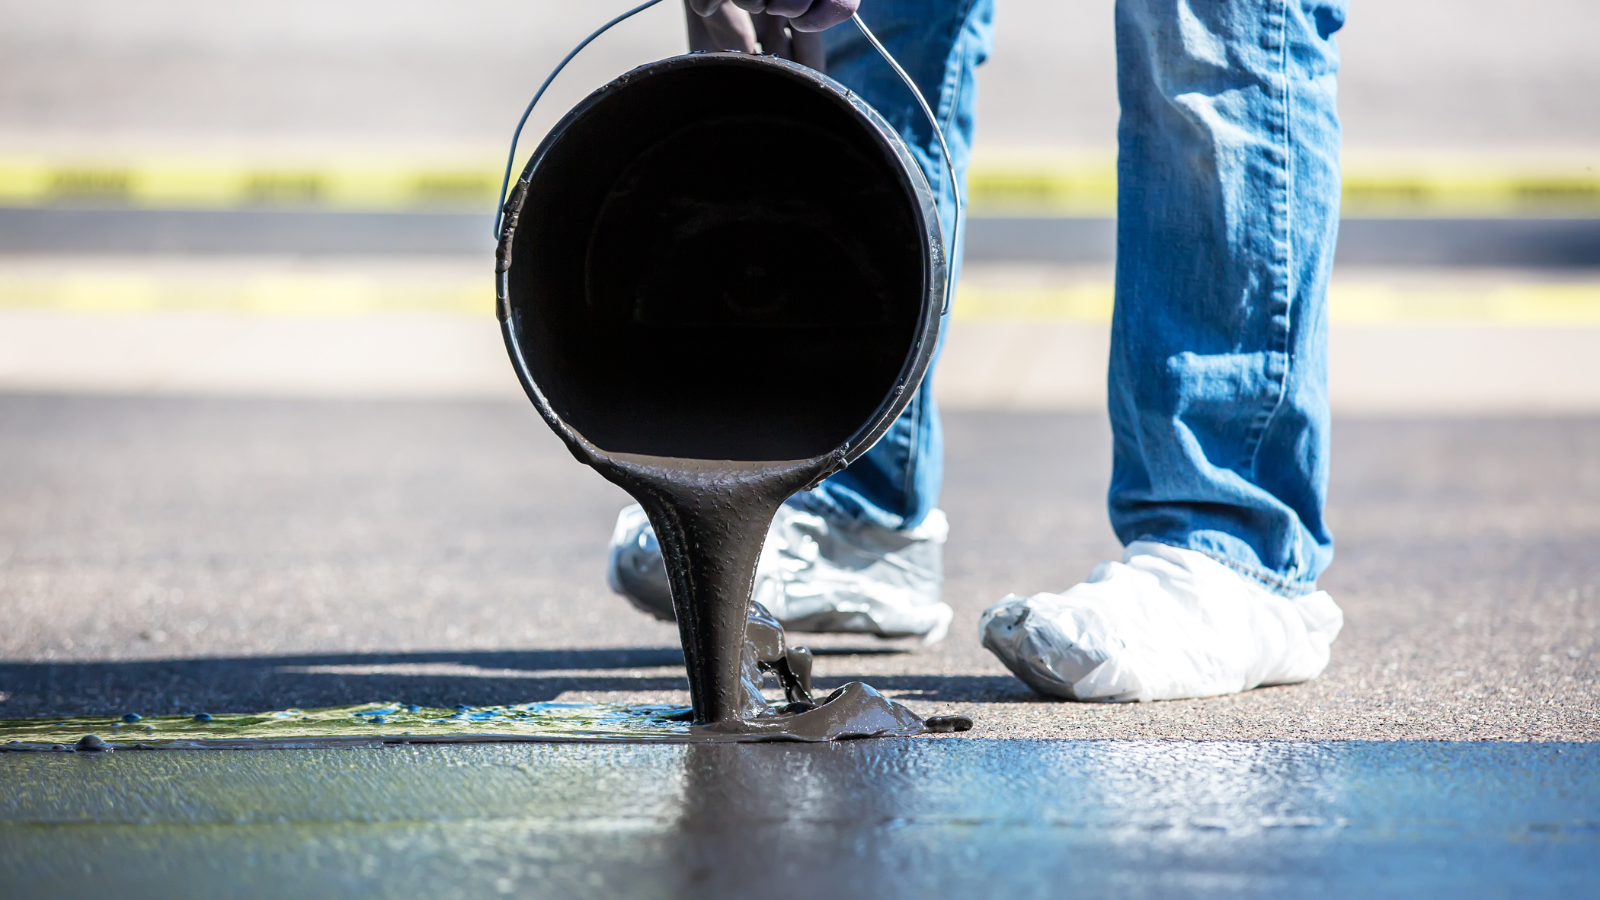
Concrete Caulk: For larger cracks, concrete caulk provides a flexible, weather-resistant seal that accommodates movement and prevents further damage.
Epoxy Resin: For deep or wide cracks, epoxy resin offers a strong repair solution, bonding firmly to the paver surface and filling larger voids effectively.
How Do You Repair Outdoor Pavers?
Repairing outdoor pavers involves a few straightforward steps:
1. Clean the Area: Remove debris, dirt, or weeds from the damaged area to ensure a clean surface for repairs.
2. Remove Damaged Pavers: Carefully lift out cracked or damaged pavers using a flat tool, being cautious not to damage surrounding pavers.
3. Prepare the Base: Inspect and repair the base layer for erosion or unevenness. Add sand or gravel to ensure a solid foundation.
4. Install New Pavers: Place new pavers into the prepared area, aligning them with the surrounding pavers for a seamless look.
5. Fill the Joints: Sweep sand or polymeric sand into the spaces between the pavers and compact it to stabilize the pavers and prevent movement.
6. Compact the Area: Use a compactor to press the pavers firmly into place, ensuring they are secure and level.
10 Expert Tips for Repairing Cracked or Damaged Paver Blocks
1. Regular Inspection: Routinely check your paver surfaces for early signs of damage to address issues before they worsen.
2. Proper Installation: Ensure pavers are installed correctly with a solid base and appropriate jointing sand for optimal stability.
3. Use Quality Materials: Choose high-quality pavers and repair materials for long-lasting and effective repairs.
4. Mind the Weather: Avoid repairing during extreme weather conditions to ensure materials are set properly.
5. Seal the Pavers: Apply a sealant to protect pavers from moisture, stains, and other damaging elements, extending their lifespan.
6. Prevent Weed Growth: To maintain surface integrity, use weed barrier fabric underneath pavers and regularly remove weeds from the joints.
7. Control Water Flow: Ensure proper drainage to prevent water from pooling and eroding the base material, which can lead to instability.
8. Avoid Heavy Loads: To minimize cracking and damage, prevent heavy vehicles or equipment from being placed on paver surfaces.
9. Address Root Issues: Trim or remove tree roots that could disrupt paver stability and cause shifting.
10. Maintain Joint Sand: Periodically replenish joint sand to keep pavers securely in place and prevent shifting.
Conclusion
Repairing cracked or damaged pavers is a straightforward process that significantly enhances the appearance and safety of your outdoor spaces. By understanding the causes of paver damage and following expert advice, you can effectively address issues and maintain a beautiful, durable surface. Regular upkeep and prompt repairs will ensure your pavers remain a stunning feature of your landscape, adding value and enjoyment to your property. With these strategies, you can keep your pavers in top condition and ensure a welcoming and resilient outdoor environment.