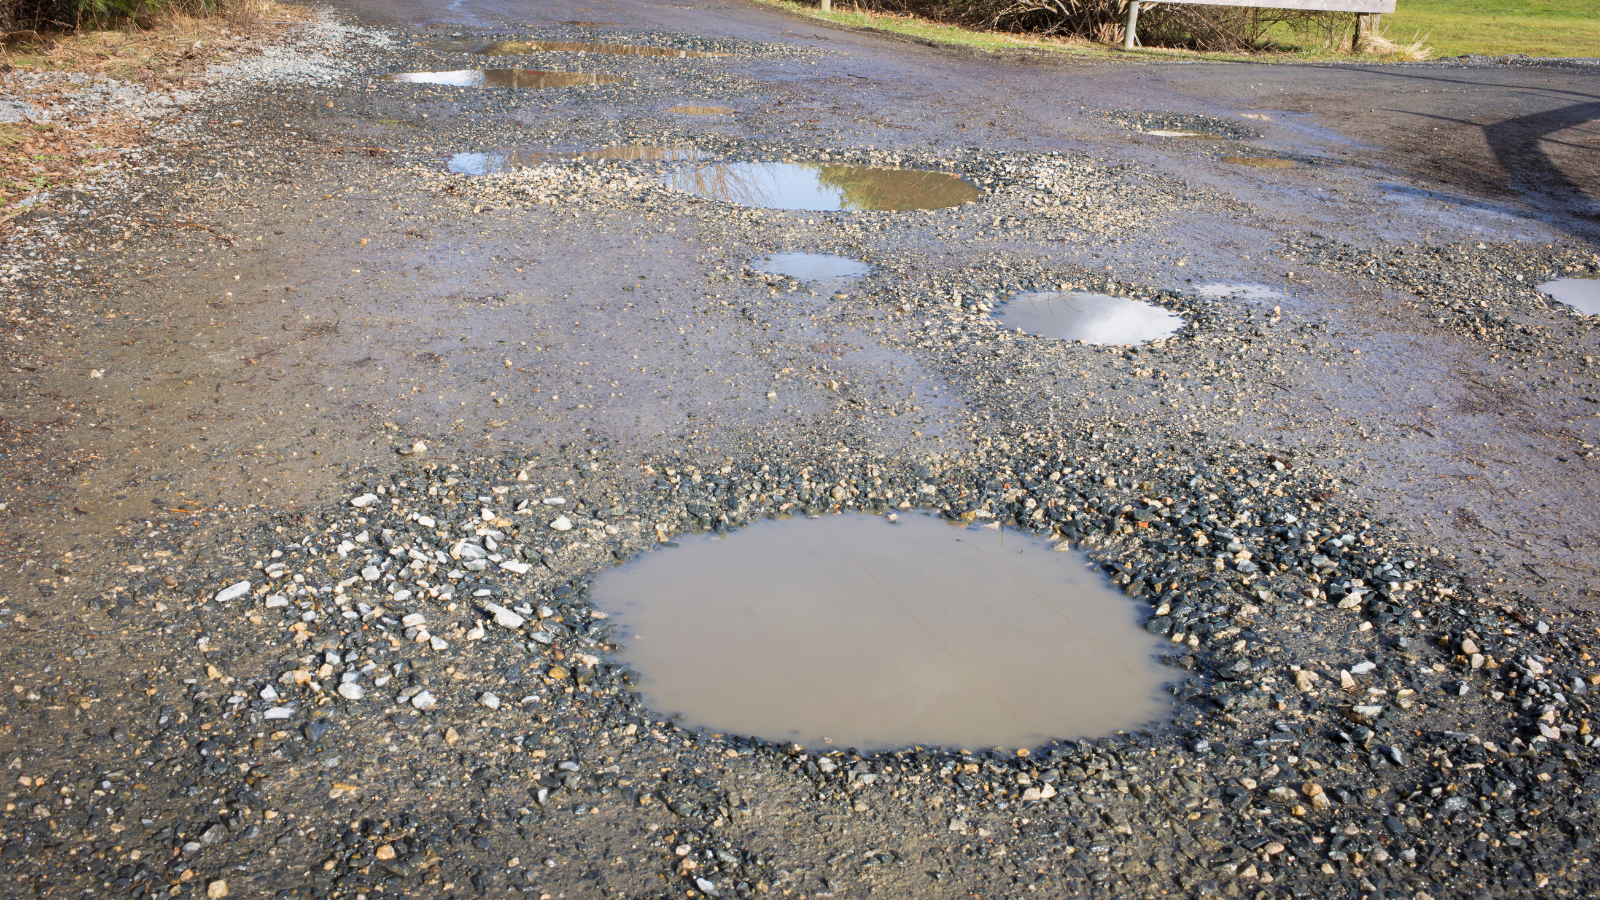
Understanding Pavement Maintenance Challenges
Pavement repairs can be complex, depending on the surface type. Modular pavements like brick and block paving offer easier maintenance, while monolithic surfaces such as tarmacadam and concrete require more specialized restoration techniques.
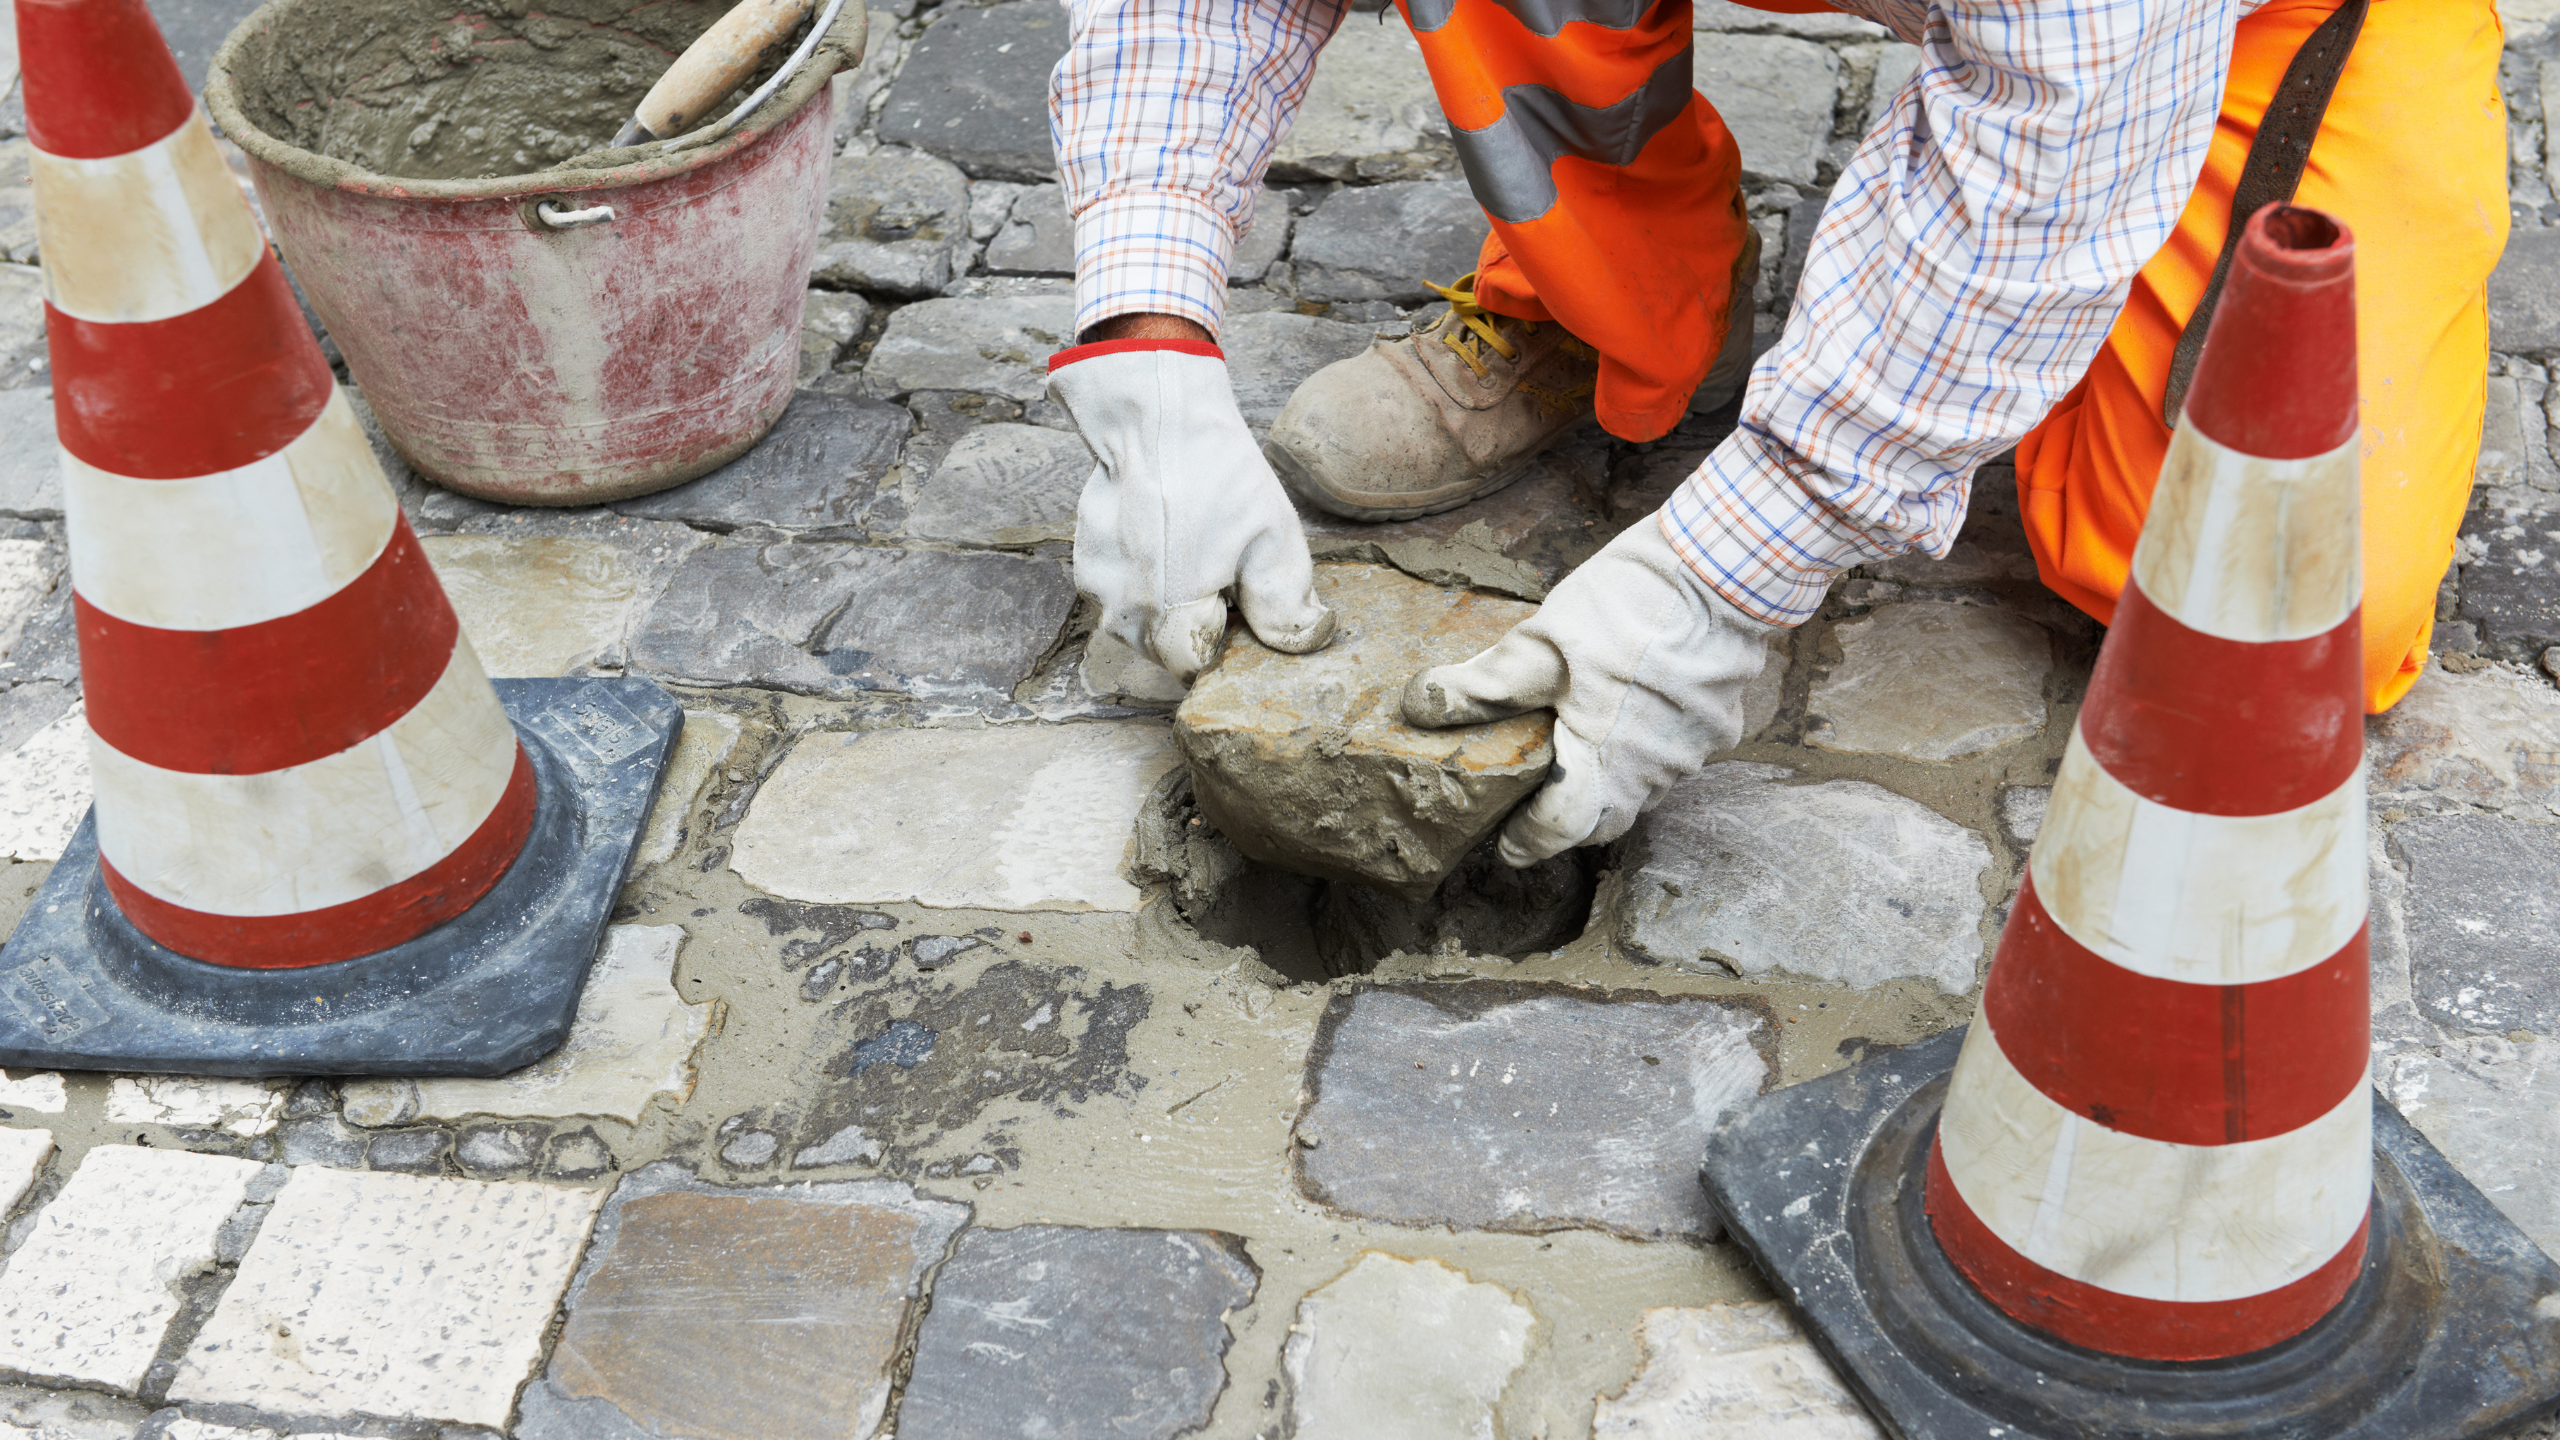
Replacing Individual Paving Elements: A Detailed Approach
Non-Destructive Removal Method
- Carefully lift blocks or flags using a trowel
- Minimize damage to existing paving units
- Ideal for preserving original materials
Destructive Removal Method
- Use a sharp chisel to break and remove stubborn paving units
- Recommended when replacement blocks are available
- Suitable for challenging removal scenarios
Addressing Different Paving Surfaces
Block Paving Replacement
- Remove damaged units carefully
- Prepare bedding layer
- Use matching blocks to ensure visual consistency
- Re-compact with vibrating plate compactor
Flags and Slab Replacement
- Remove mortar joints
- Lever out existing units
- Prepare bedding layer
- Apply new mortar
- Repoint joints
Pavement Maintenance: Preventive Care vs. Repairs—Which is Better
Patching Monolithic Surfaces
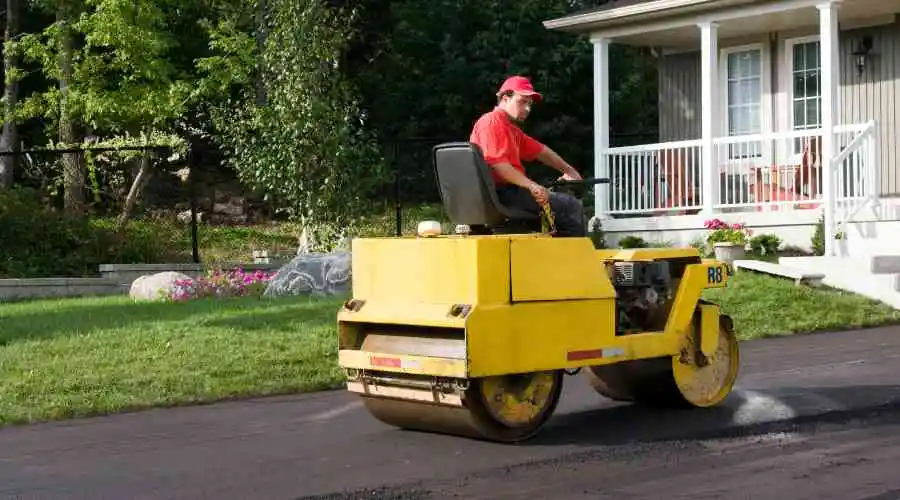
Tarmacadam (Bitmac) Repair
- Mark and cut repair area
- Remove damaged surface
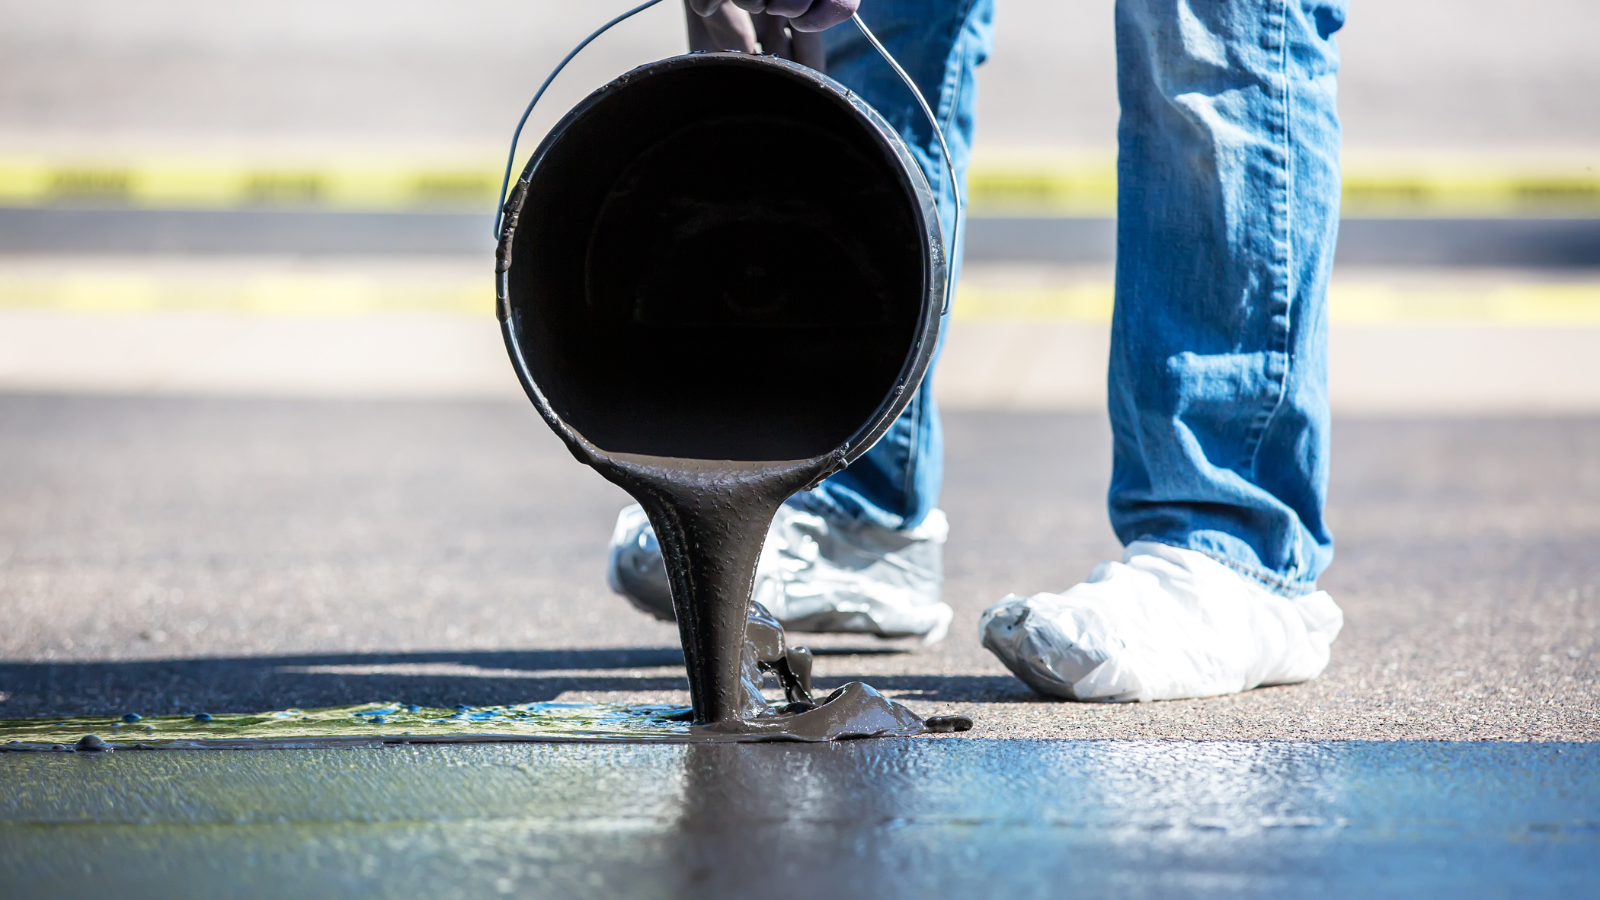
- Apply cold pour jointing compound
- Use fresh, hot bitmac in multiple layers
- Compact thoroughly
Concrete Repair Strategies
- Suitable for surface damage and structural issues
- Cut and remove damaged areas
- Clean and prime surface
- Apply high-strength concrete mix
- Finish and level carefully
Professional Tips for Successful Repairs
- Always aim for batch-matched materials
- Consider professional assistance for complex repairs
- Prepare surfaces meticulously
- Allow proper curing time
- Monitor repairs periodically
Recommended Products and Techniques
- Pre-packaged macadam for small repairs
- Tarmac sealcoats for surface rejuvenation
- High-strength concrete mixes
- Proper compaction tools
Maintenance Considerations
- Regular inspection prevents extensive damage
- Address issues promptly
- Choose appropriate repair method based on surface type
- Invest in quality materials and techniques
When to Seek Professional Help
While DIY repairs are possible, complex or large-area repairs often require professional expertise. Companies like Elizabeth Paving offer specialized services and can ensure high-quality, lasting results.
Final Advice
Successful pavement restoration depends on careful preparation, appropriate materials, and precise execution. Whether you’re repairing a driveway, courtyard, or commercial space, understanding these techniques will help you achieve professional-grade results.