Maintaining your sand joints is crucial for preserving the aesthetic appeal and functionality of your paved surfaces. Whether it’s a patio, driveway, or walkway, sand joints play an essential role in keeping your pavers secure and preventing weed growth and ant infestations. In this guide, we’ll explore the key aspects of sand joint maintenance, including how to seal sand joints, assess sand loss, resolve issues, top off joint sand, and ensure ongoing maintenance.
Visit https://elizabethpaving.com/ for more details.
How to Seal Sand Joints
Sealing sand joints is a vital step to protect your paved surfaces from the elements. Follow these steps to seal your sand joints effectively:
1. Clean the Surface: Remove any debris, dirt, or weeds from the paver surface and joints.
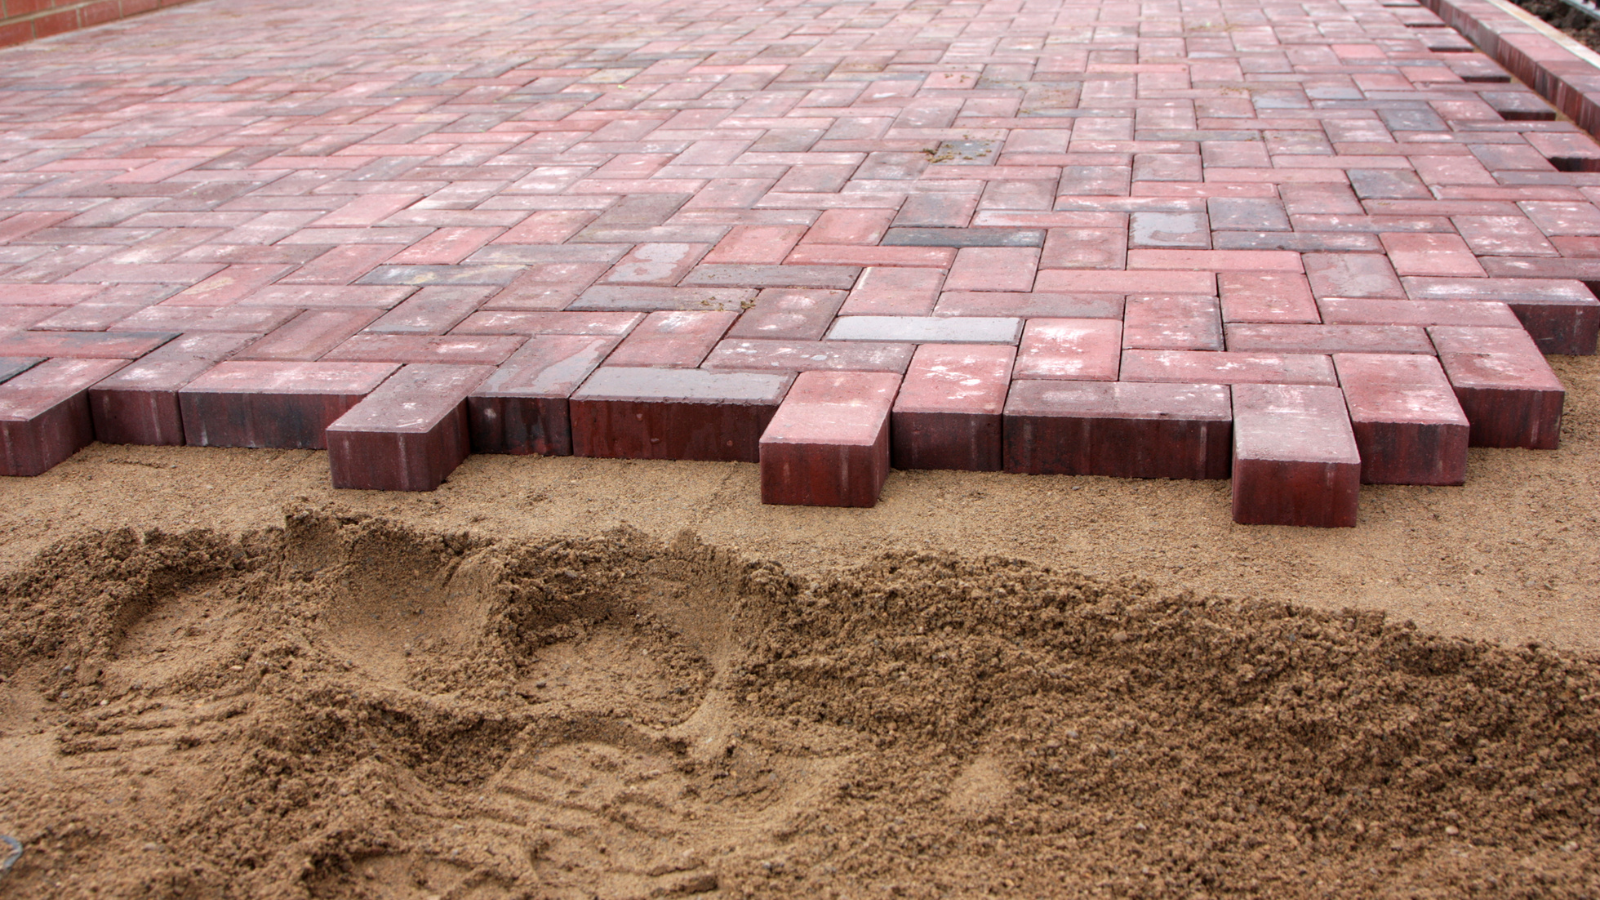
2. Add Joint Sand: Fill the joints with polymeric sand, ensuring it reaches the top of the pavers. Sweep off any excess sand.
3. Water the Sand: Gently mist the sand with water to activate the binding agents in the polymeric sand. Be careful not to over-saturate.
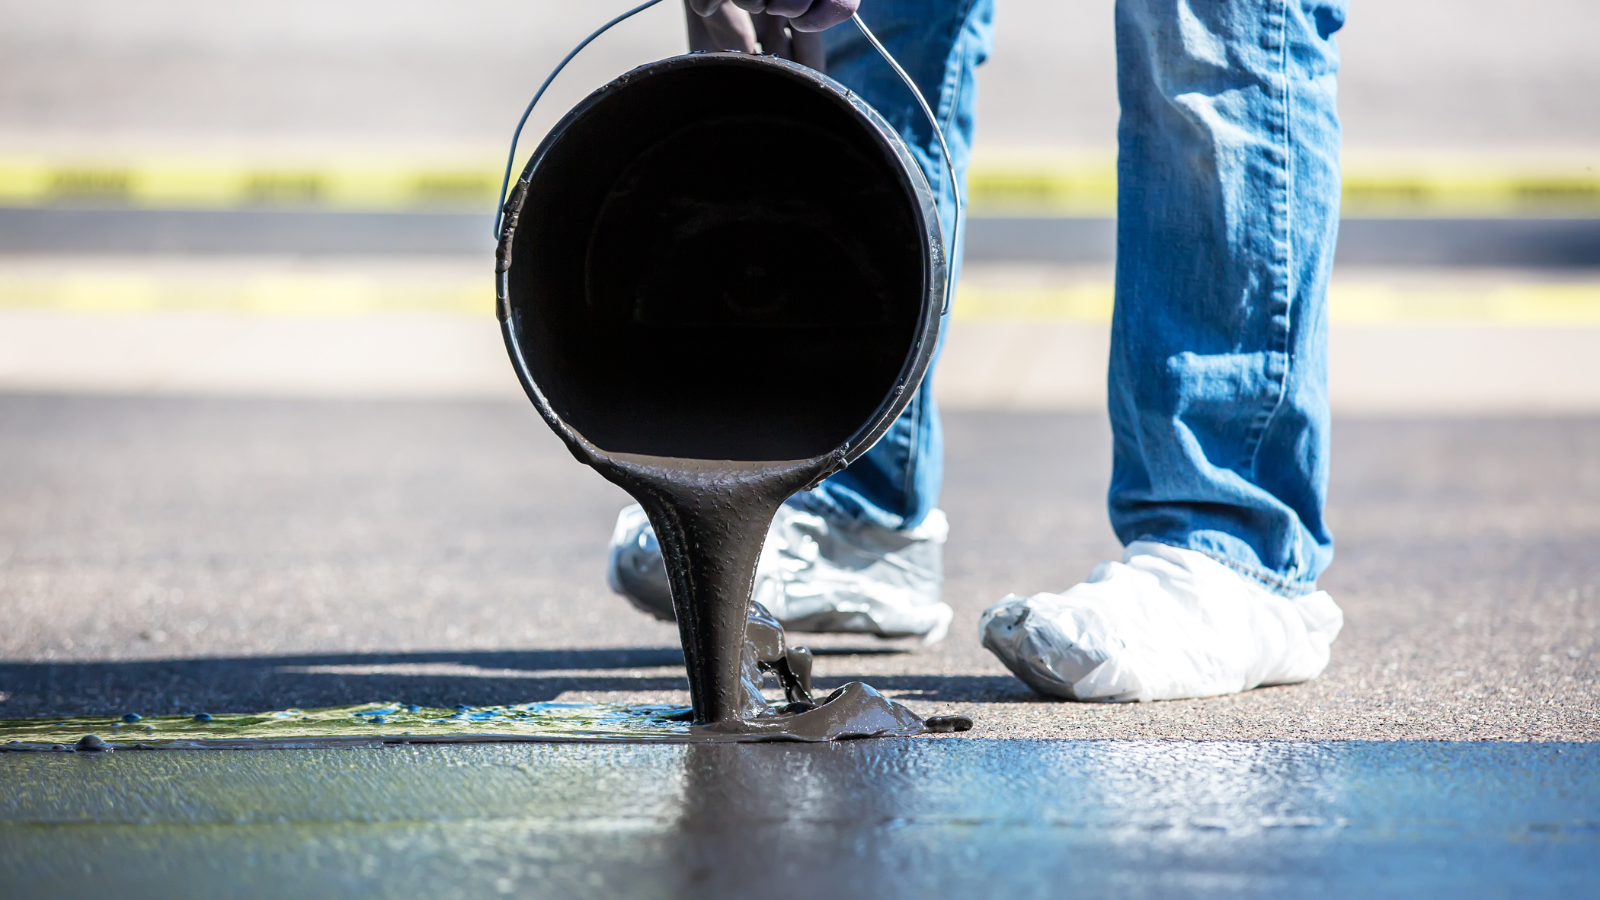
4. Apply Sealer: Once the sand is dry, apply a paver sealer using a sprayer or roller. Ensure it’s evenly covered, and give it time to dry completely.
Sand Joint Maintenance
Regular maintenance of sand joints is essential for longevity. Here’s how you can keep your sand joints in top condition:
Inspect Regularly: Check your paver surfaces periodically for any signs of sand loss or shifting pavers.
Clean Routinely: Sweep the surface to remove debris and prevent the accumulation of organic material that can lead to weed growth.
Reapply Polymeric Sand: Depending on the traffic and weather conditions, you may need to reapply polymeric sand every 2-3 years.
Assess the Sand Loss
To ensure your sand joints are performing optimally, assess sand loss by following these steps:
Visual Inspection: Look for visible gaps or empty joints.
Probe Joints: Use a thin tool to probe the joints and check for depth. If the sand level is significantly below the paver surface, it’s time for maintenance.
Check for Paver Movement: Gently wiggle the pavers. Movement indicates that the joints are not providing adequate stability.
Resolve the Issue
If you find issues during your assessment, address them promptly:
1. Remove Old Sand: Clear out the old sand from the joints using a pressure washer or specialized joint removal tool.
2. Reapply Sand: Fill the joints with fresh polymeric sand, ensuring it is evenly distributed and compacted.
3. Re-seal the Joints: After reapplying sand, follow the sealing steps mentioned above to lock in the new sand and protect your joints.
Top Off the Joint Sand
Over time, sand in the joints may settle, necessitating a top-off:
1. Clean the Joints: Ensure the joints are free of debris.
2. Add More Sand: Pour additional polymeric sand into the joints, filling them to the top.
3. Compact and Sweep: Compact the sand using a tamper and sweep away any excess.
Ongoing Maintenance
Keeping up with sand joint maintenance ensures the longevity and aesthetics of your paved surfaces:
Regular Cleaning: Sweep and wash the paver surface regularly to prevent dirt and debris buildup.
Reapply Sand as Needed: Top off the joint sand whenever you notice settling.
Periodic Sealing: Re-seal the joints every few years to protect against weathering and erosion.
Explore Additional Resources
For more detailed guidance on sand joint maintenance, consider these resources:
Professional Maintenance Services: Hiring a professional can ensure the job is done correctly and efficiently.
DIY Guides: Look for comprehensive DIY guides and videos online.
Local Home Improvement Stores: They often provide workshops and advice on maintaining paver surfaces.
Conclusion
Proper sand joint maintenance is essential for keeping your paved surfaces in pristine condition. By following the actions listed above, you can ensure your pavers remain stable, attractive, and free from weeds and pests. Regular assessment, topping off the joint sand, and sealing will protect your investment and enhance the longevity of your outdoor spaces. For more tips and resources, explore professional services or DIY guides to stay on top of your sand joint maintenance.